"But one thing I do: forgetting what lies behind and straining forward to what lies ahead, I press on toward the goal for the prize of the upward call of God in Christ Jesus." Philipians 3:13b,14
Showing posts with label make ahead. Show all posts

Saturday, March 24, 2012

Freezer/ Crock Pot Healthy BBQ Chicken

I loved the Freezer/ Crock Pot Santa Fe Chicken so much, I started looking for other recipes that could be made in the crock pot, and also frozen ahead for later!! This one caught my eye:


I haven't done a lot of cooking with boneless, skinless chicken thighs, but I loved how they turned out in this recipe! They held together wonderfully, and stayed really juicy and moist! Plus, I LOVED that there were tons of great veggies in this dish!


Freezer/ Crock Pot Healthy BBQ Chicken
Click here for the ingredients- Stephanie has several other cool freezer recipes on her blog as well- I look forward to trying them out!! 


Instead of making two for the freezer, I made one in the crock pot for dinner, and froze a second batch! 


It is SO nice to have in the freezer to plop in the crock pot on a busy day, or when it is almost grocery day and we are out of a lot of stuff- we can still have a healthy, yummy dinner!! It is helpful to stick to the budget as well!!


So I put 1/2 the ingredients into the crock pot (Of course, I used the amazing crock pot liner- those suckers are AMAZING!!)


And the other half into a gallon Ziploc bag.

I served this over rice, but it would be great on its own too!! If your people don't like sweet potatoes, I think regular russet potatoes would taste just as good!!


This was fabulous leftover, too!!

Monday, March 12, 2012

Crustless Broccoli and Cheese Quiche- Make Ahead and Healthy Breakfast!

So, this was the second make-ahead breakfast I tried last week! The first was Baked Pumpkin Pie Oatmeal, which was totally delicious, and a big hit with everyone!! This one was just as tasty, but on the savory side of things rather than the sweet.....


Another great thing about this quiche is that it is low in calories, and since it has the protein from the eggs and egg whites, it is super filling!


Crustless Broccoli and Cheese Quiche

  • 2 tsp olive oil
  • 1/2 cup vertically sliced onion (I just used 1 whole onion, I hate leftover onion in my fridge)
  • 5 cups broccoli florets (I used 1 bag of frozen florets, thawed)
  • 1 garlic clove, minced (I used 3 since I omitted the parsley, for extra flavor)
  • 1 1/4 cup 1% milk
  • 1 cup (4 ounces) shredded reduced-fat Swiss cheese (I used sandwich slices of Swiss cheese, 4 of them, and just chopped them instead of shredding)
  • 2 Tb chopped fresh parsley (I omitted this, I don't really like parsley too much)
  • 2 tsp Dijon mustard
  • 1/2 tsp salt
  • 1/4 tsp black pepper (I used cayenne instead)
  • 1/8 tsp ground nutmeg
  • 4 large egg whites, beaten
  • 2 large eggs, beaten
  • 1 Tb shredded Parmesan cheese


Preheat the oven to 350, grease a small baking dish or an 8-9" pie plate.

Heat olive oil in a skillet and cook the onion and garlic for 1 1/2 minutes. Then add the broccoli and cook an additional minute. 


Spread broccoli mixture into prepared pan:


Next, you're going to mix together the rest of the ingredients except for the Parmesan cheese.


(This is the reduced-fat Swiss cheese I used, from Trader Joe's) (That place rocks)


Whisk everything together really well, then pour over the broccoli mixture:


Then sprinkle the Parmesan over the top:


Bake at 350 until top is golden and a knife inserted into the center comes out clean. Mine took 50 minutes, I like my eggs cooked well. Let is sit for 10 minutes or so before serving.

I REALLY liked this served with salsa and a tortilla. Or, plain. Or..... on a bagel. 

....ok, ok, I just LIKE this. 

I have always found that eating well, as in healthfully, is extremely difficult unless I prepare ahead of time. Making up several healthy items to eat when I need something quickly is essential to me. This recipe will definitely be one to keep on hand!

Enjoy!

Friday, March 9, 2012

Whole Foods Inspired Layered Salad with Orange Ginger Dressing

Ok, I have a confession to make...

I got really, really excited about this salad.

But I live in a house full of boys.

Boys that like to eat, but who do NOT get excited about new recipes. Boo.

So after making these salads, I drove to my friend Mel's house so that I could show someone else this salad! So dorky! But for me, part of the joy of doing something fun is sharing that with people I love! So, poor Mel was accosted by me and my salad....

I stand by my excitement though. This salad is fabulous, healthy, filling, and convenient!


See? The dressing is in the bag inside the jar! You just pour the dressing onto the salad when you're ready to eat it, shake, and eat the salad right out of the jar! Super cool!


Whole Foods Inspired Layered Salad with Orange Ginger Dressing

  • 1 cup uncooked wheatberries (makes 2 & 1/4 cup cooked)
  • 1 cup uncooked quinoa (makes 2.5 cups cooked)
  • 1 cup edamame
  • 1 cup diced carrots (about 2)
  • 1.5 cups diced red pepper (1 large)
  • 1.5 cups diced green pepper (1 large) (I used yellow because I think raw yellow is better than raw green)
  • 1/2 cup finely chopped fresh parsley (I used cilantro, I'm not a huge parsley fan)
  • Herbamare or kosher salt, to taste (I used sea salt)


Rinse and cook the wheatberries and the quinoa according to package directions.


I bought shelled edamamae, then cooked those as well.


Then chop all the veggies, and set up your assembly line!


for the dressing (makes four 1/4 cup servings):
  • 2/3 cup 100% pure orange juice (I used freshly squeezed)
  • 1/3 cup 100% pure apple juice
  • 1 tbsp apple cider vinegar
  • 1 tbsp fresh minced ginger
  • 1 tbsp fresh lime juice
  • 1 tbsp olive oil (the original recipe didn't call for this, but I felt like it was needed to balance out the citrus)
  • kosher salt, to taste (I used 1/4 tsp)


Your kitchen smells awesome when you're making this!!


I bagged the dressing in sandwich Ziplocs.


Layer the jars (I used wide mouthed quart jars so that there was room for the dressing, and to shake the salad) like this: 1/2 cup wheatberries, 1/4 cup yellow peppers, 1/4 cup red peppers, 1/2 cup quinoa, 1/4 cup carrots, 2 Tb Parsley (or cilantro), 1/4 cup edamame. I added the bag of dressing right on top!


Deliciously amazing!! I added a bit of chopped avocado to the top! It was SO yummy!!!

Happy eating!

Thursday, March 8, 2012

Baked Pumpkin Pie Oatmeal- (So good I ate it for DINNER!)

I has been a good while since I tried out a new make-ahead breakfast. So I've been looking at recipes to try and this one sounded delicious! When I baked it for breakfast, the boys and I scarfed it down, every bite exclaiming how much it tasted like pumpkin pie!


How good does that look? 


Baked Pumpkin Pie Oatmeal
  • 15 oz can pumpkin puree
  • 1/2 cup brown sugar
  • 2 eggs
  • 1 tsp pumpkin pie spice
  • 1/2 tsp salt
  • 3/4 tsp baking powder
  • 1/2 tsp vanilla extract
  • 1 3/4 cup milk (I used unsweetened vanilla almond milk)
  • 2 1/2 cups old-fashioned oats (rolled oats)


Preheat the oven to 350 degrees. Whisk together all of the ingredients except the oats.


Add the oats and mix well.


Pour into an 8x8 or similarly sized baking dish that you've sprayed with Pam.


Cover with foil and bake for 30 minutes. Then, remove foil and bake for 15 minutes more.


Scoop into bowl and serve. I served the boys' with a squirt of whipped cream. I added a tiny drizzle of pure maple syrup, but it was completely unnecessary. This stuff is completely amazing, no "extra" stuff needed!


Yum! I actually ate this for dinner the same day, because it was so good!! 

Enjoy!


Monday, February 20, 2012

DIY Frozen French Toast- Budget Friendly, Quick Breakfast!

I have been looking for even more ways to cut back in our budget. The main area that always occurs to me is  our grocery budget. There are certain things that are last-resort areas to cut, such as coffee (I mean come on, it's coffee.......), high-quality produce, and the ingredients to make all the energy bars we eat daily. 

One huge expense is cereal. I like breakfast to be quick and easy, and fairly filling, since I live in a household filled with males. All of the boys LOVE French toast, but since it can cost up to $4 for a package of 6 pieces,  it isn't a budget friendly option. 


Making it yourself, however, is! I made 48 pieces of French toast for about $7. 


I used a double pack of sandwich bread from Costco- I used white, but you could use whole wheat to make the French toast healthier!


I fill a large-ish mixing bowl about halfway with milk. I would estimate I used maybe 6 cups. This is more of a concept than an exact recipe. :) I used cow's milk, but you could use soy or almond milk if that suits your dietary needs.


Add 4-5 eggs and beat well. You can also use egg beaters if you'd like. 


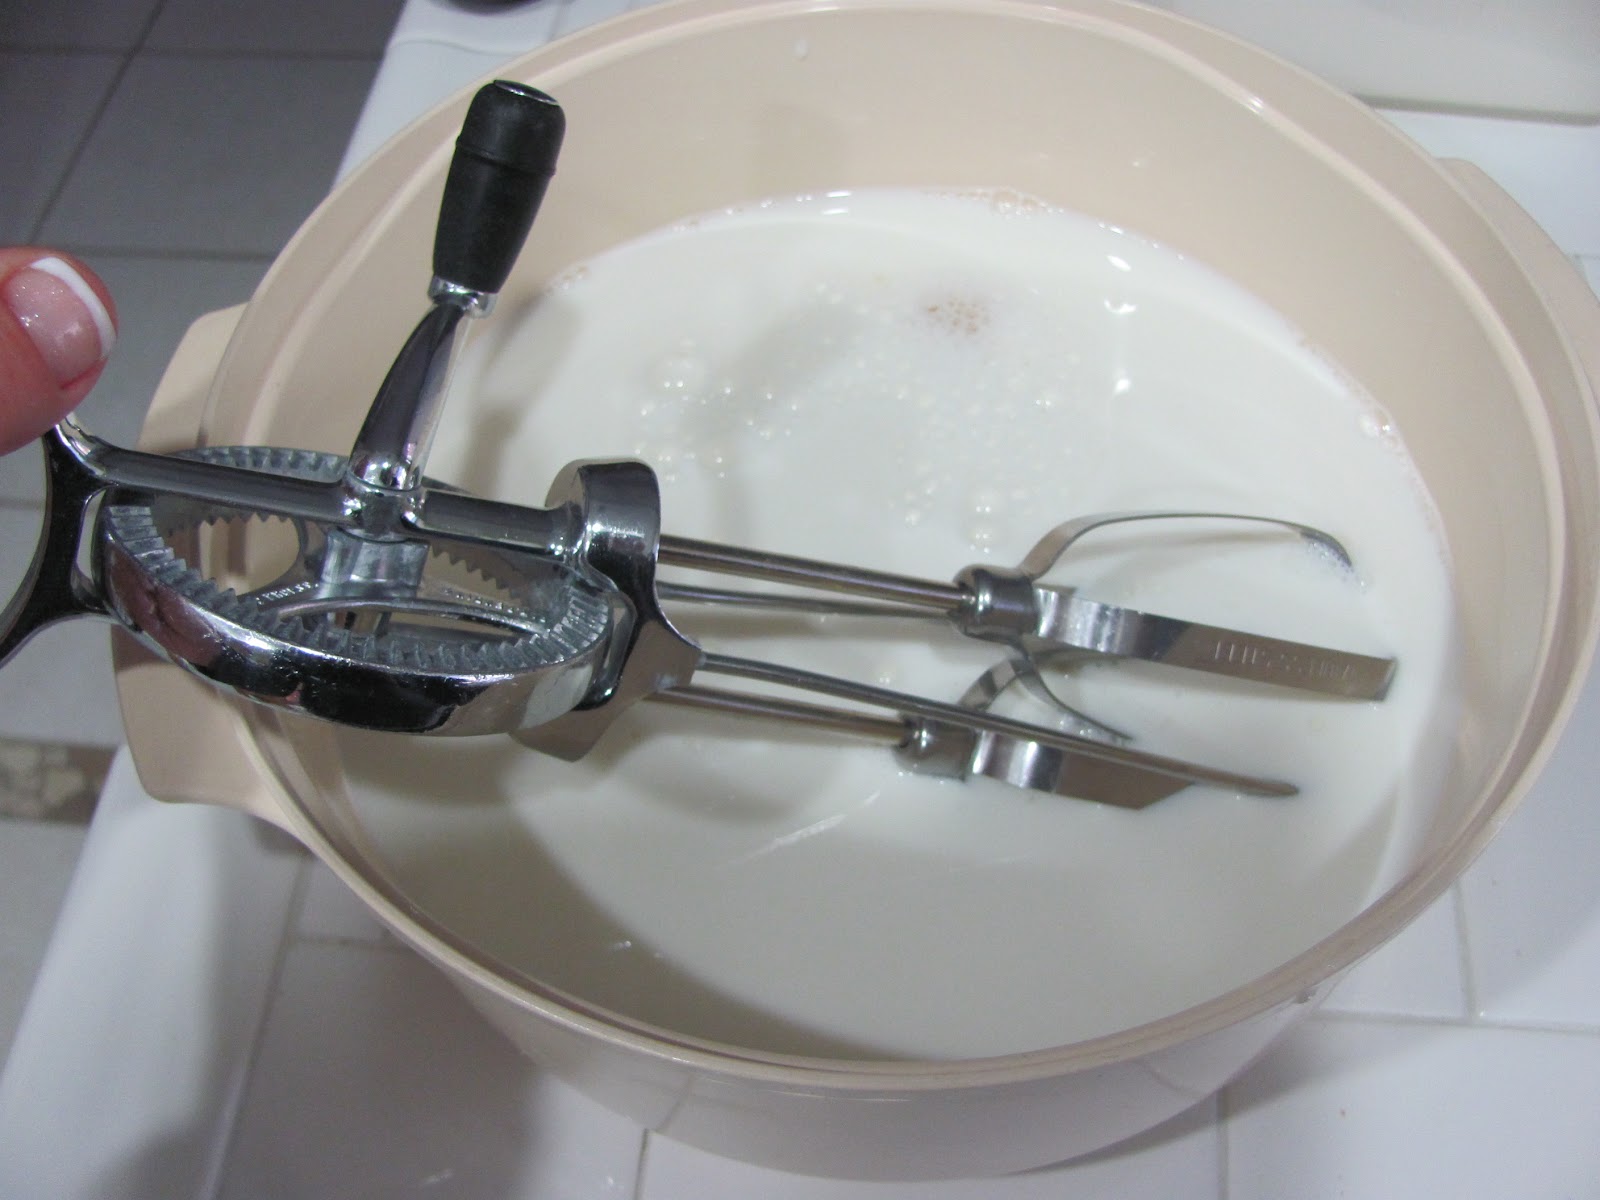
I have this awesome hand mixer from my grandma. I love using it.


Then add about 1/2 cup granulated sugar (You could sub honey if you don't like to use sugar), and a few teaspoons of vanilla extract. Mix well.


Then add 3 very large pinches of salt. See the camera cord hanging in the photo? That's what happens when you try and take one-handed photos. Nice.


Spray a griddle with Pam. I have an electric griddle that holds 8 slices of bread, but before I had this one, I used 2 skillets and cooked 6 pieces at a time. If you're using an electric griddle, I heat mine to 350 degrees.


Also, I like a lot of cinnamon on the French toast, so I sprinkle a light layer over the top of the milk mixture every 4 slices of bread so that each piece gets some cinnamon. 


Dip both sides of each slice of bread into the milk mixture, and place on the heated griddle or skillet. Cook for a few minutes on each side. It should look a little crusty and golden on each side:


I don't like mine soggy in the middle, so I make sure it's cooked through. 


I set the cooked French toast on plates to cool before bagging it up for the freezer! 


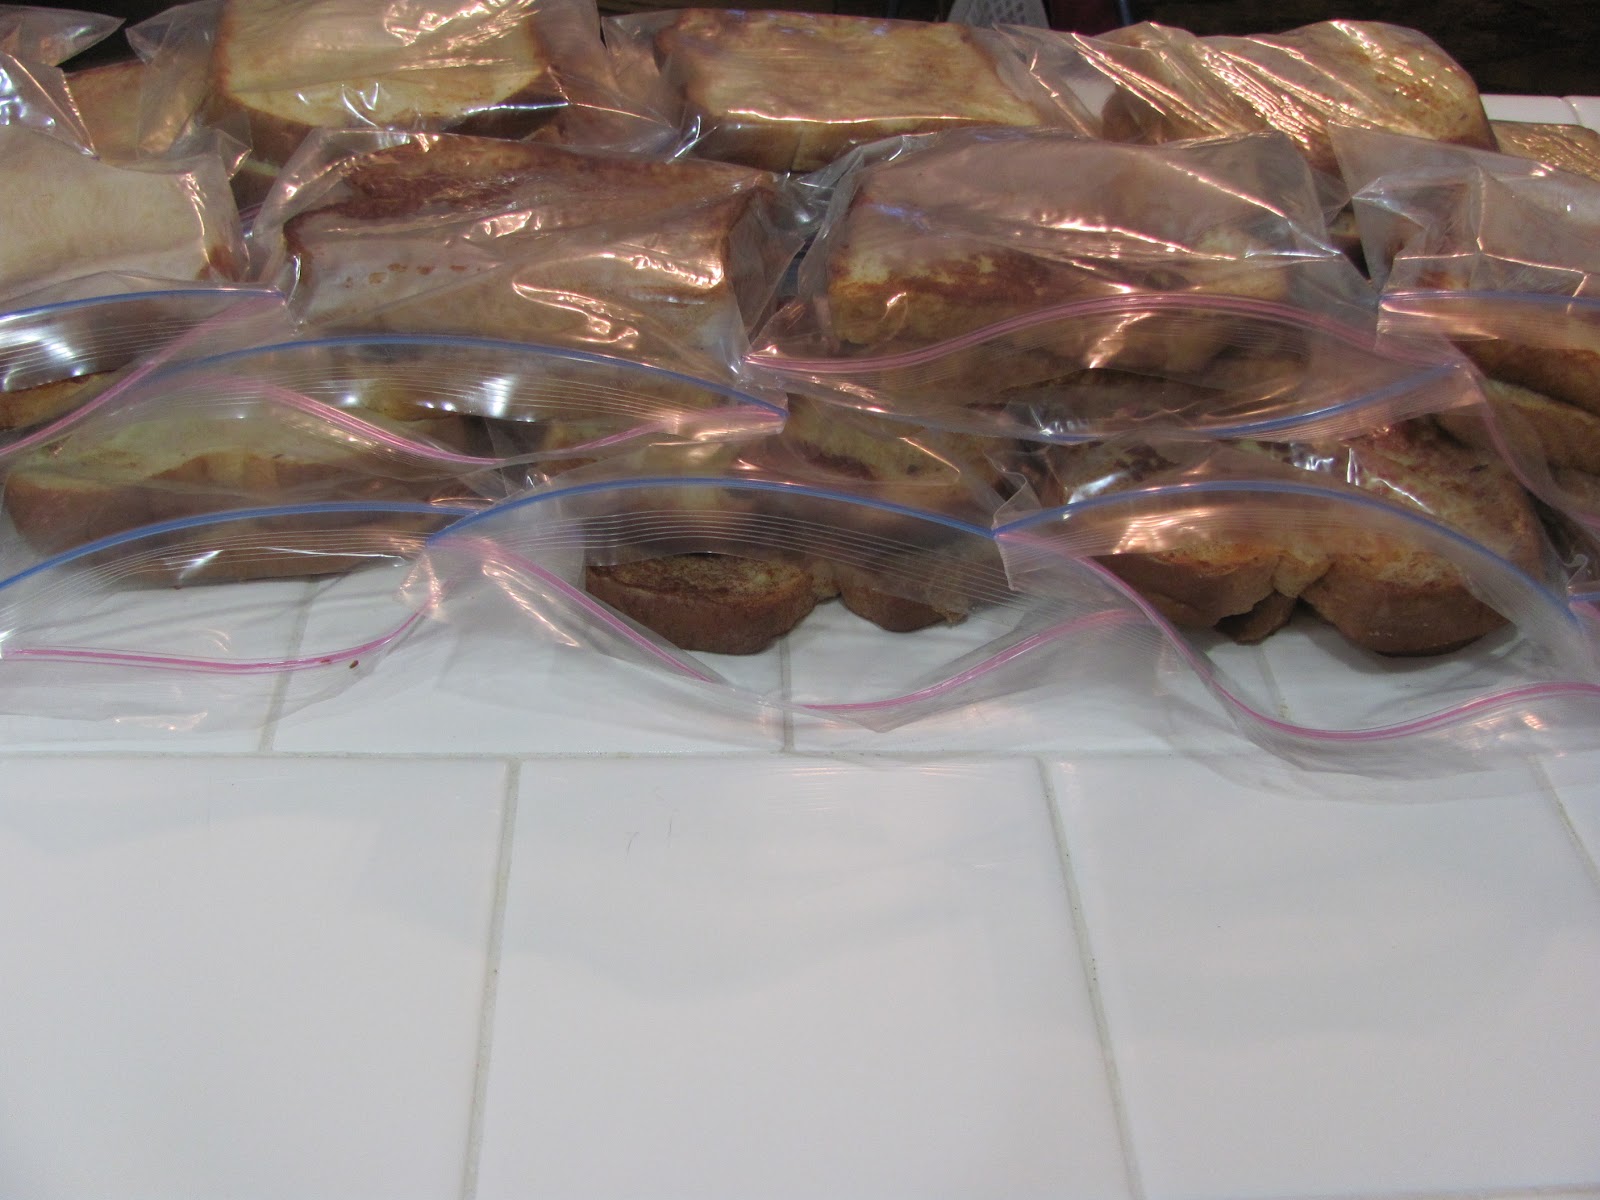
I put them in sandwich sized Ziploc bags, two to a bag. I leave the bags open if they're not totally cool.


Then I seal them up and take all the air out.


They reheat in the microwave in about 1-1.5 minutes. You can also heat the slices in the toaster if you prefer.


Yum.