"But one thing I do: forgetting what lies behind and straining forward to what lies ahead, I press on toward the goal for the prize of the upward call of God in Christ Jesus." Philipians 3:13b,14
Showing posts with label bread. Show all posts

Friday, February 10, 2012

Make Your Own French Toast Bagels!

I love Panera.

I especially love the Cinnamon Crunch and French Toast bagels. Mmmmm.....

Sometimes, when I'm eating at Panera after a long run, I get partway through my bagel and start a rousing debate with myself over whether I am going to buy another bagel after I've finished the first.

I like food.

The only thing about Panera's bagels that I don't like is the price. They are expensive. So I decided to try and make some at home! I couldn't find a recipe for the Cinnamon Crunch version, but I found one for the French Toast flavor here. I halved the recipe and made 8 bagels.


I am going to give you the full recipe, which is supposed to make 15 bagels. Cut the recipe in half if you'd like- that is what I did. Oh, and I made these a second time and did 6 instead of 8 bagels, and liked the size better that way. But you choose. I apologize in advance for the horrid lighting in the photos, I baked these in the evening and the light wasn't great.

Here's what you need:
**updated 3/20/12

  • 2 1/4 cups warm water, plus more as needed
  • 1 pkg active dry yeast
  • 1/4 cup sugar, divided ** I changed this to 1/4 cup + 2 Tb and used 1/4 cup in the dough
  • 6 - 7 cups bread flour (I only had regular, so that's what I used)
  • 1 Tbsp salt
  • 3 Tbsp cinnamon
  • 1 Tbsp vegetable oil, plus more for greasing
  • 2 Tbsp vanilla
  • 1 Tbsp maple extract
  • (There's an egg in the photo because the original recipe called for an egg yolk wash before baking. But somehow that didn't sound good to me, so I omitted it.)


This stuff rocks!! I have made several recipe with maple extract- I LOVE the flavor of maple!


In the bowl of your kitchen aid, mix the warm water, 2 Tb of the sugar, and the yeast. Let the yeast foam up, like shown above. 


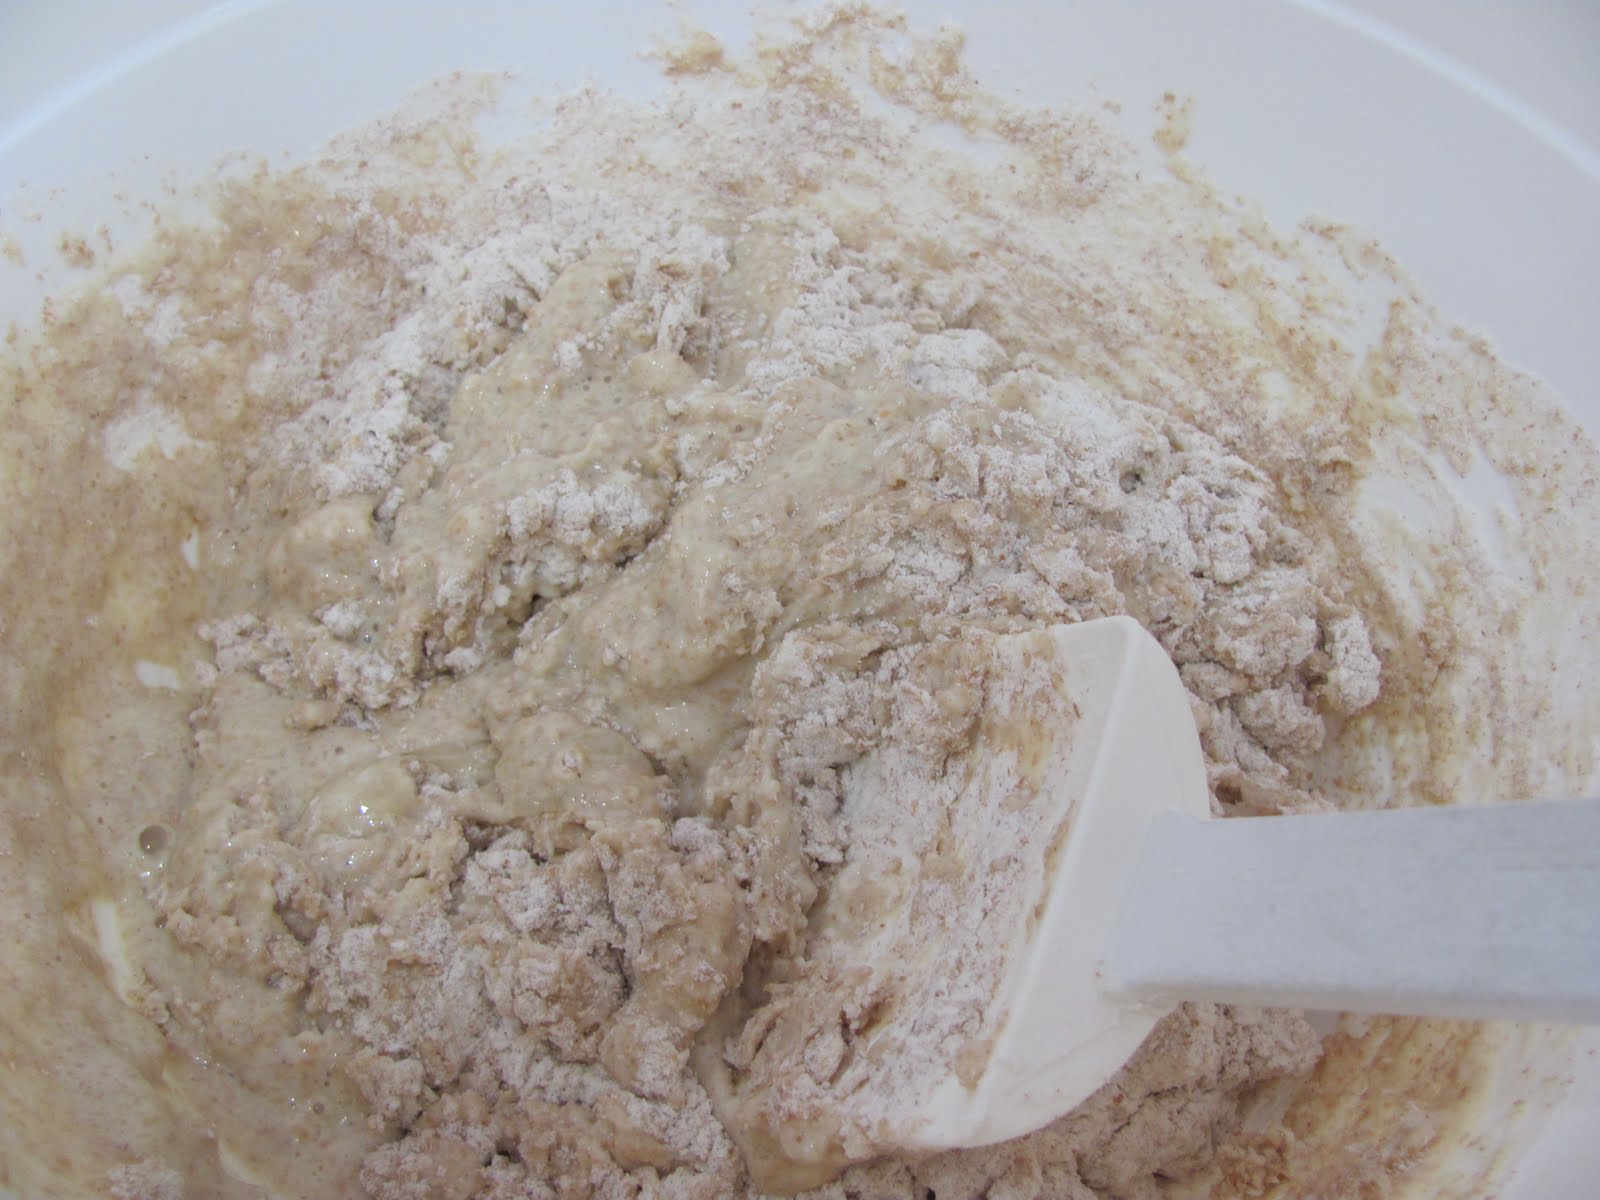
Add the extracts and oil to the liquid, then add the rest of the ingredients (except the reserved 2 Tb sugar). Start with the 6 cups flour, and add more if needed. Knead with the dough hook, or by hand, for 10 minutes or so.


The dough should clean the sides of the bowl, but still be moist and soft. 


After the dough is done kneading, place it into a greased bowl, turning to coat both sides with the oil. The dough smells AMAZING!! Let the dough rise for about an hour, or until almost doubled in size.


In the meantime, like a few baking sheets with parchment paper, or this non-stick foil (LOVE this stuff)- or if you don't have either of those, like the pans with regular foil and spray the heck out of them with Pam.


Divide the dough- if you've made the recipe I've given, you'll divide it into 15 pieces. ** I like the size better if I make 12 instead of 15. Shape each piece into a bagel shape:


Then place on the lined baking sheets. Cover with saran wrap, and let rise again for about 30-40 minutes.


When the second rise is almost complete, preheat the oven to 500, and put a large, deep skillet or a pot on the stove with about 4 inches of water added. Add the remaining 2 Tb sugar, and bring to a boil. Once the water is boiling rapidly, you're going to add the bagels, 2 or 3 at a time (Don't crowd them- bagels like their space!) (One time I went to this marathon expo, and it was SO crowded and everyone was shoving- it was terrible!! Don't do that to the poor bagels!)


Boil the bagels for one minute, then flip (I used the handle of a wooden spoon) then boil another minute. Then remove with the handle of the spoon and place back on the lined pan.


See?? No crowding.


As you can see, I did NOT make perfect bagels. In my defense, I was also cooking dinner, and fielding questions from my son about how gas masks are made. (Who knows how they're made??! I mean, honestly!) I can't do everything all at once....... So the bagel shaping suffered. But it was fine, they still tasted delish!!


Bake at 500 for about 15 minutes, or until golden brown. Your house will smell so wonderful. 

A word about topping these bagels- they aren't overly sweet bagels. So when I used plain cream cheese, I thought they needed a touch more sweetness. So I mixed a few tablespoons of maple syrup with a package of cream cheese. Perfect. Alternately, butter and a light sprinkle of brown sugar was also quite delightful. 


After cooling on a wire rack, store in a Ziploc bag. 

Enjoy!!

Wednesday, August 17, 2011

Buttermilk Cinnamon Bread

I try and make homemade things for breakfast. Easy, sort of grab and eat things. This way I don't have to spend an arm and a leg on cereal.

Because we all know how much cereal teenagers and husbands can eat.

Plus, I like to have packable things for Wade to take.

All three guys LOVE this bread.

Here's what you need:
  • 4 cups all-purpose flour

  • 2 teaspoons baking soda

  • 1 teaspoon salt

  • 1/2 cup vegetable oil

  • 2 1/2 cups sugar, divided

  • 2 cups buttermilk (I didn't have any so I put 1 Tb. white vinegar in with regular milk)

  • 2 eggs

  • 1 tablespoon ground cinnamon

  • 1 tablespoon finely chopped walnuts (I omitted these)


  • Whisk together the oil, 1 1/2 cups of the sugar, and the eggs and buttermilk.

    In a mixing bowl, whisk together the dry ingredients- the flour, baking soda, and salt.

    In a third bowl, mix together the remaining one cup sugar with the cinnamon and set aside.

    Now add the wet stuff to the dry stuff and mix, just until blended. In two well-greased 8x4 loaf pans, add 1/4 of the batter and 1/4 of the cinnamon sugar, then repeat. So you'll have batter/sugar/batter/sugar in each.
    Now take a butter knife and swirl the top layer of sugar sort of into the batter, like shown below:

    This is what it will look like when you're done:

    Then just pop in a pre-heated 350 oven for 45-55 minutes. Err on the side of baking it longer, and use a toothpick in the center to make sure it's cooked through. I have under baked it before and it was batter-ish in the middle.

    I cool it in the pan for about 10 minutes, then cool it completely on a wire rack. I wrap the loaves in plastic wrap and store in the fridge for a week. If it lasts that long.

    I got this recipe from http://www.allrecipes.com/

    Tuesday, July 12, 2011

    Whole Wheat Sunflower Seed Quick Bread

    This bread is crunchy, not-too-sweet, and really easy to make!! It goes well with almond butter and honey, peanut butter and honey, or (of course) Nutella! I think it would be great for sandwiches too!

    Here's what you need!
    2 cups whole wheat flour
    2 cups all-purpose flour
    1/4 cup sugar
    1 teaspoon salt
    4 teaspoon baking powder
    1 teaspoon baking soda
    1/4 cup honey
    2 large eggs
    1 1/2 cups buttermilk (I used regular milk with a Tb of vinegar)
    4 tablespoons unsalted butter, melted
    1 cup roasted and salted sunflower seeds


    First, spray two 8x4" loaf pans with Pam. OR, if you live in MY house, notice that someone (not me) used the last of the Pam and DID. NOT. WRITE. IT. ON. THE. LIST!

    Who does that kind of thing???!!!! (At this point, if you're me, you yell at all possible suspects, then grease the pans with butter, just to make yourself feel better)

    Whisk all the dry ingredients (Except the sunflower seeds, set those aside for a minute) in one bowl

    And all the wet ingredients in another bowl:

    Then combine. Mix just until combined. Don't over mix (It makes the bread tough) (Not the good kind of tough, like where people can do hard things without complaining. Which I love by the way. Not into whiners. Anyhow, over mixing batter makes bread the bad kind of tough. Break-your-teeth tough.)


    Now fold  3/4 cup of the sunflower seeds into the batter

    Then take the remaining seeds and sprinkle them onto the tops of the two loaves, pressing them in slightly. Then bake at 350 for about 35 minutes. Don't over bake, because then the bread will be dry. Which isn't quite as bad as tough, but still not great. Cool for a few minutes in the pans, then finish cooling on a wire rack.


    I got this recipe from http://www.joythebaker.com/

    So, how are you enjoying summer? I love the break from homeschooling, and I LOVE the longer days- it's so nice to have daylight after dinner!!  I have noticed that it is more difficult for me to be consistent about blogging, I don't have the strictly structured routine that I follow during the school year so I don't have a set time for writing! But I just try and get posts in when I can.

    Have a great evening!!
    

    Thursday, June 23, 2011

    Make Your Own Soft, Chewy Wrap Bread!

    It's summertime- time for beach trips, camping, hiking, and picnics!!

    Don't you love summer?? I do.

    I love these wrap breads, because I make turkey wraps, chicken wraps, and pb&j wraps for packed lunches. I hate spending 3 or 4 dollars on a package of wrap breads that are usually dry and cracking after a day or two. These breads are soft and chewy, and tend to disappear as you make them- so you may want to make a double batch!!

    Here's what you need:
    • 3 to 3 1/4 cup flour
    • 1 cup boiling water
    • 1/4 cup warm water
    • 1/2 cup potato buds or flakes
    • 1 1/4 tsp salt
    • 2 Tb vegetable oil (I used olive oil)
    • 1 tsp yeast
    In the bowl of your Kitchen Aid. place two cups of flour. Pour the boiling water over the flour , and stir. (You're doing this to sort of "cook" the flour and take the edge off the flour-ey flavor) set aside to cool slightly.


    In the meantime, put the 1/4 cup warm water in the measuring cup and dissolve the yeast, and let it get a little foamy. Once that happens, add the oil.

    In another bowl, whisk together the remaining 1 cup flour (you will use the extra 1/4 cup during kneading, if needed) (kneaded, needed...ha ha) and potato buds or flakes, and the salt.

    Now put the flour/potato mixture, and the yeast mixture into the Kitchen Aid, put the dough hook on, and knead for about 4 or 5 minutes. This dough takes a little bit to come together, it looks a little slippery at first, but keep an eye on it and add more flour if you need to. The dough will be soft and slightly sticky though, so don't overdo it on the flour.


    Put the dough into a greased bowl, turn to coat, and let rise for 1 hour.

    After the dough has risen, divide it into 8 equal pieces. Cover the pieces with Saran Wrap and let them rest for about 15 minutes. (They need their rest. They're tired. It is hard being dough.)


    Now you're going to cook them!! Heat up a skillet (I almost spelled Skittles. I have been WAY too good with my eating this week if I am subconsciously changing skillet to skittles.) over medium high heat. Roll each dough ball out to about a 8 inch circle, and cook, one at a time in the skillet. It's ready to flip when it starts sort of puffing up:


    Then flip it (I just use my hands but you could use tongs or a fork) and cook the other side:

    Then I cool them on a wire rack, and store them in a Ziploc bag.

    My current favorite wrap is a layer of turkey, some Lite Caesar dressing, chopped romaine, sliced tomatoes, and Swiss cheese. Mmmmmmmm...... I made a breakfast wrap the other day with scrambled eggs, feta, and tomatoes, that was good too!!!

    Make a batch for your next packed lunch- if they make it that far!! My boys always grab a few when they're still warm and I am lucky to have any left!!

    I hope you have some fun stuff planned for this summer!!

    I got this recipe from http://www.kingarthurflour.com/ I love their stuff!!