"But one thing I do: forgetting what lies behind and straining forward to what lies ahead, I press on toward the goal for the prize of the upward call of God in Christ Jesus." Philipians 3:13b,14
Showing posts with label breakfast. Show all posts

Monday, March 12, 2012

Crustless Broccoli and Cheese Quiche- Make Ahead and Healthy Breakfast!

So, this was the second make-ahead breakfast I tried last week! The first was Baked Pumpkin Pie Oatmeal, which was totally delicious, and a big hit with everyone!! This one was just as tasty, but on the savory side of things rather than the sweet.....

Another great thing about this quiche is that it is low in calories, and since it has the protein from the eggs and egg whites, it is super filling!


Crustless Broccoli and Cheese Quiche

  • 2 tsp olive oil
  • 1/2 cup vertically sliced onion (I just used 1 whole onion, I hate leftover onion in my fridge)
  • 5 cups broccoli florets (I used 1 bag of frozen florets, thawed)
  • 1 garlic clove, minced (I used 3 since I omitted the parsley, for extra flavor)
  • 1 1/4 cup 1% milk
  • 1 cup (4 ounces) shredded reduced-fat Swiss cheese (I used sandwich slices of Swiss cheese, 4 of them, and just chopped them instead of shredding)
  • 2 Tb chopped fresh parsley (I omitted this, I don't really like parsley too much)
  • 2 tsp Dijon mustard
  • 1/2 tsp salt
  • 1/4 tsp black pepper (I used cayenne instead)
  • 1/8 tsp ground nutmeg
  • 4 large egg whites, beaten
  • 2 large eggs, beaten
  • 1 Tb shredded Parmesan cheese


Preheat the oven to 350, grease a small baking dish or an 8-9" pie plate.

Heat olive oil in a skillet and cook the onion and garlic for 1 1/2 minutes. Then add the broccoli and cook an additional minute. 


Spread broccoli mixture into prepared pan:


Next, you're going to mix together the rest of the ingredients except for the Parmesan cheese.


(This is the reduced-fat Swiss cheese I used, from Trader Joe's) (That place rocks)


Whisk everything together really well, then pour over the broccoli mixture:


Then sprinkle the Parmesan over the top:


Bake at 350 until top is golden and a knife inserted into the center comes out clean. Mine took 50 minutes, I like my eggs cooked well. Let is sit for 10 minutes or so before serving.

I REALLY liked this served with salsa and a tortilla. Or, plain. Or..... on a bagel. 

....ok, ok, I just LIKE this. 

I have always found that eating well, as in healthfully, is extremely difficult unless I prepare ahead of time. Making up several healthy items to eat when I need something quickly is essential to me. This recipe will definitely be one to keep on hand!

Enjoy!

Thursday, March 8, 2012

Baked Pumpkin Pie Oatmeal- (So good I ate it for DINNER!)

I has been a good while since I tried out a new make-ahead breakfast. So I've been looking at recipes to try and this one sounded delicious! When I baked it for breakfast, the boys and I scarfed it down, every bite exclaiming how much it tasted like pumpkin pie!


How good does that look? 


Baked Pumpkin Pie Oatmeal
  • 15 oz can pumpkin puree
  • 1/2 cup brown sugar
  • 2 eggs
  • 1 tsp pumpkin pie spice
  • 1/2 tsp salt
  • 3/4 tsp baking powder
  • 1/2 tsp vanilla extract
  • 1 3/4 cup milk (I used unsweetened vanilla almond milk)
  • 2 1/2 cups old-fashioned oats (rolled oats)


Preheat the oven to 350 degrees. Whisk together all of the ingredients except the oats.


Add the oats and mix well.


Pour into an 8x8 or similarly sized baking dish that you've sprayed with Pam.


Cover with foil and bake for 30 minutes. Then, remove foil and bake for 15 minutes more.


Scoop into bowl and serve. I served the boys' with a squirt of whipped cream. I added a tiny drizzle of pure maple syrup, but it was completely unnecessary. This stuff is completely amazing, no "extra" stuff needed!


Yum! I actually ate this for dinner the same day, because it was so good!! 

Enjoy!


Monday, February 20, 2012

DIY Frozen French Toast- Budget Friendly, Quick Breakfast!

I have been looking for even more ways to cut back in our budget. The main area that always occurs to me is  our grocery budget. There are certain things that are last-resort areas to cut, such as coffee (I mean come on, it's coffee.......), high-quality produce, and the ingredients to make all the energy bars we eat daily. 

One huge expense is cereal. I like breakfast to be quick and easy, and fairly filling, since I live in a household filled with males. All of the boys LOVE French toast, but since it can cost up to $4 for a package of 6 pieces,  it isn't a budget friendly option. 


Making it yourself, however, is! I made 48 pieces of French toast for about $7. 


I used a double pack of sandwich bread from Costco- I used white, but you could use whole wheat to make the French toast healthier!


I fill a large-ish mixing bowl about halfway with milk. I would estimate I used maybe 6 cups. This is more of a concept than an exact recipe. :) I used cow's milk, but you could use soy or almond milk if that suits your dietary needs.


Add 4-5 eggs and beat well. You can also use egg beaters if you'd like. 


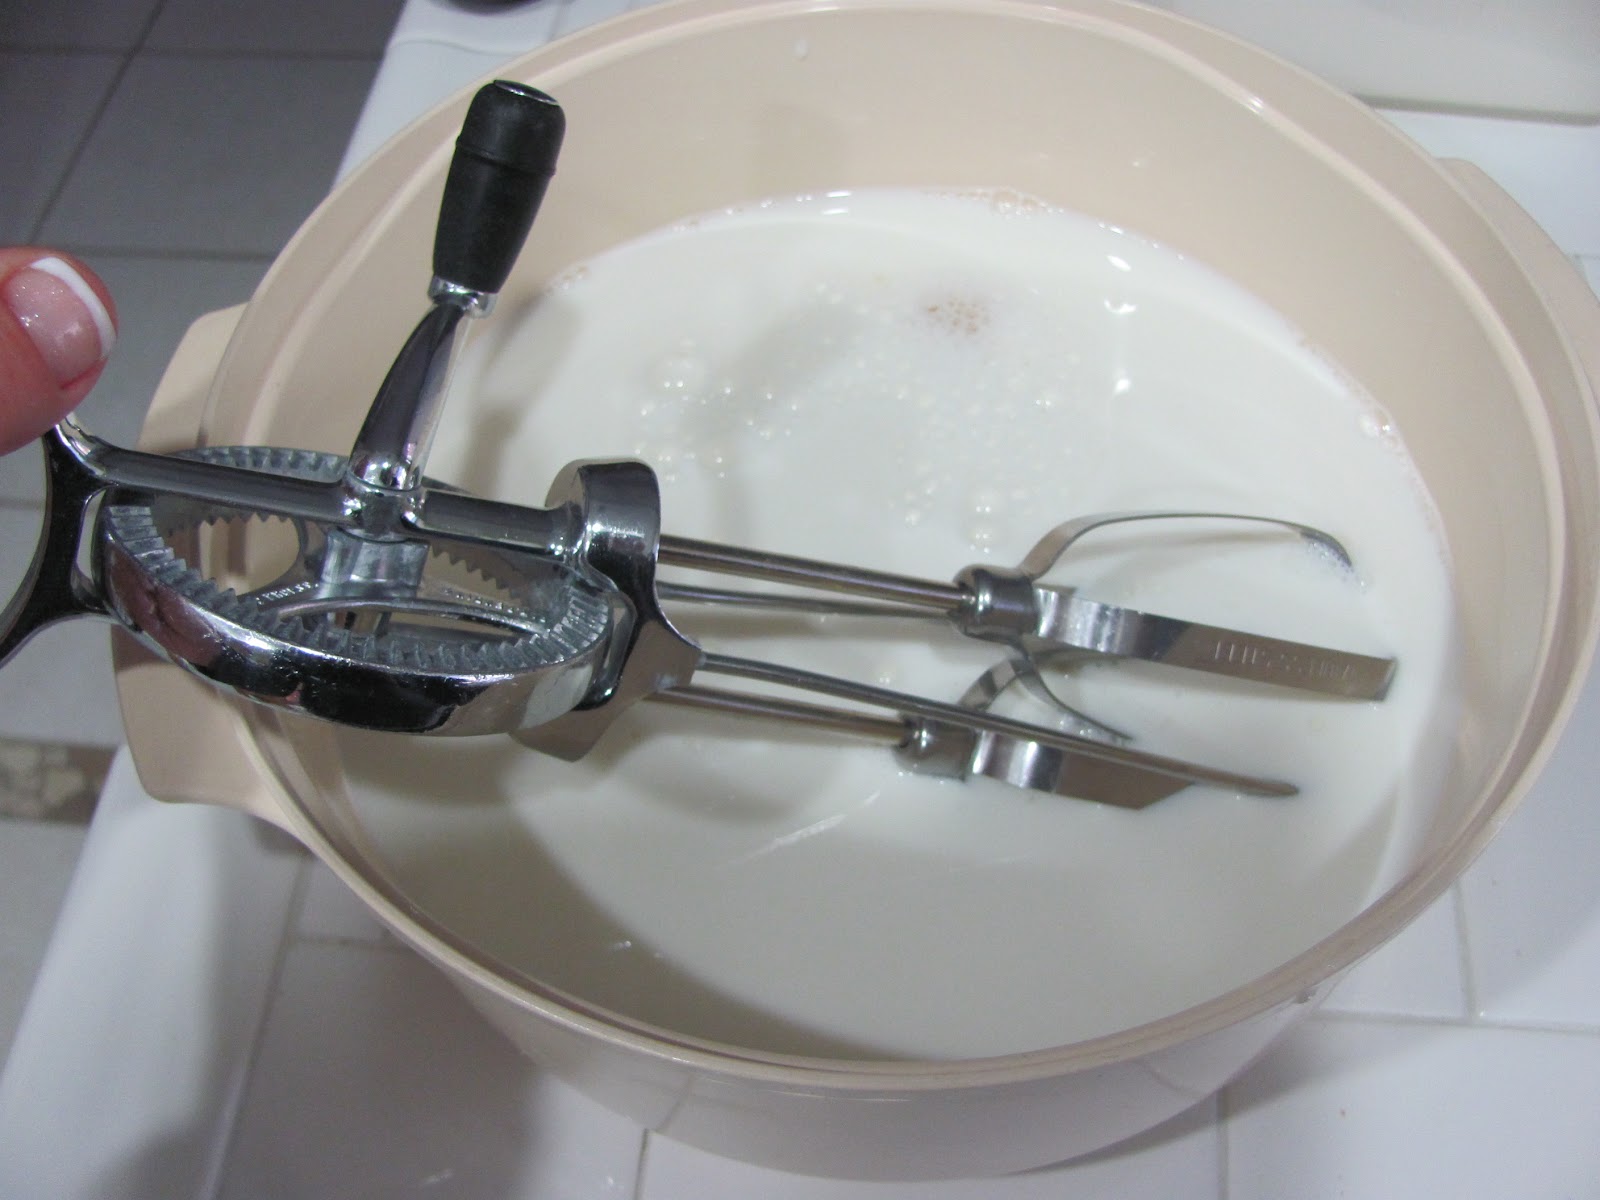
I have this awesome hand mixer from my grandma. I love using it.


Then add about 1/2 cup granulated sugar (You could sub honey if you don't like to use sugar), and a few teaspoons of vanilla extract. Mix well.


Then add 3 very large pinches of salt. See the camera cord hanging in the photo? That's what happens when you try and take one-handed photos. Nice.


Spray a griddle with Pam. I have an electric griddle that holds 8 slices of bread, but before I had this one, I used 2 skillets and cooked 6 pieces at a time. If you're using an electric griddle, I heat mine to 350 degrees.


Also, I like a lot of cinnamon on the French toast, so I sprinkle a light layer over the top of the milk mixture every 4 slices of bread so that each piece gets some cinnamon. 


Dip both sides of each slice of bread into the milk mixture, and place on the heated griddle or skillet. Cook for a few minutes on each side. It should look a little crusty and golden on each side:


I don't like mine soggy in the middle, so I make sure it's cooked through. 


I set the cooked French toast on plates to cool before bagging it up for the freezer! 


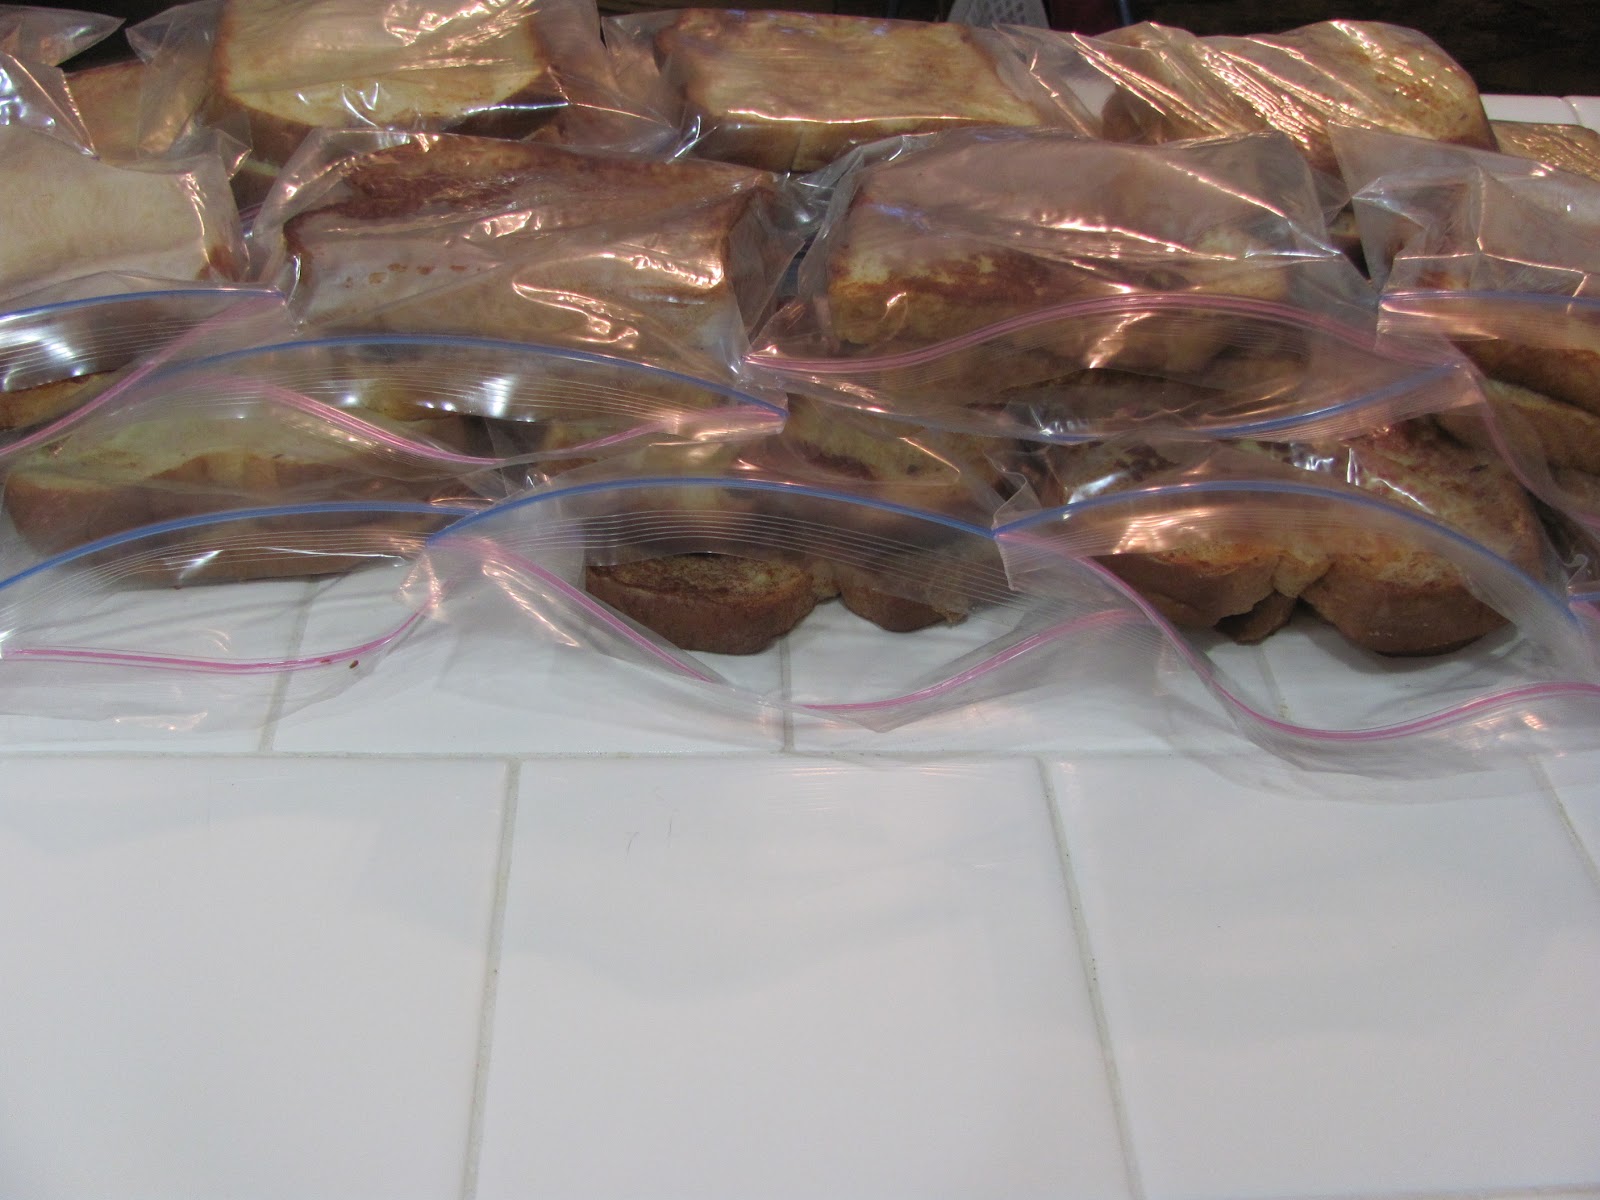
I put them in sandwich sized Ziploc bags, two to a bag. I leave the bags open if they're not totally cool.


Then I seal them up and take all the air out.


They reheat in the microwave in about 1-1.5 minutes. You can also heat the slices in the toaster if you prefer.


Yum. 

Friday, February 10, 2012

Make Your Own French Toast Bagels!

I love Panera.

I especially love the Cinnamon Crunch and French Toast bagels. Mmmmm.....

Sometimes, when I'm eating at Panera after a long run, I get partway through my bagel and start a rousing debate with myself over whether I am going to buy another bagel after I've finished the first.

I like food.

The only thing about Panera's bagels that I don't like is the price. They are expensive. So I decided to try and make some at home! I couldn't find a recipe for the Cinnamon Crunch version, but I found one for the French Toast flavor here. I halved the recipe and made 8 bagels.


I am going to give you the full recipe, which is supposed to make 15 bagels. Cut the recipe in half if you'd like- that is what I did. Oh, and I made these a second time and did 6 instead of 8 bagels, and liked the size better that way. But you choose. I apologize in advance for the horrid lighting in the photos, I baked these in the evening and the light wasn't great.

Here's what you need:
**updated 3/20/12

  • 2 1/4 cups warm water, plus more as needed
  • 1 pkg active dry yeast
  • 1/4 cup sugar, divided ** I changed this to 1/4 cup + 2 Tb and used 1/4 cup in the dough
  • 6 - 7 cups bread flour (I only had regular, so that's what I used)
  • 1 Tbsp salt
  • 3 Tbsp cinnamon
  • 1 Tbsp vegetable oil, plus more for greasing
  • 2 Tbsp vanilla
  • 1 Tbsp maple extract
  • (There's an egg in the photo because the original recipe called for an egg yolk wash before baking. But somehow that didn't sound good to me, so I omitted it.)


This stuff rocks!! I have made several recipe with maple extract- I LOVE the flavor of maple!


In the bowl of your kitchen aid, mix the warm water, 2 Tb of the sugar, and the yeast. Let the yeast foam up, like shown above. 


Add the extracts and oil to the liquid, then add the rest of the ingredients (except the reserved 2 Tb sugar). Start with the 6 cups flour, and add more if needed. Knead with the dough hook, or by hand, for 10 minutes or so.


The dough should clean the sides of the bowl, but still be moist and soft. 


After the dough is done kneading, place it into a greased bowl, turning to coat both sides with the oil. The dough smells AMAZING!! Let the dough rise for about an hour, or until almost doubled in size.


In the meantime, like a few baking sheets with parchment paper, or this non-stick foil (LOVE this stuff)- or if you don't have either of those, like the pans with regular foil and spray the heck out of them with Pam.


Divide the dough- if you've made the recipe I've given, you'll divide it into 15 pieces. ** I like the size better if I make 12 instead of 15. Shape each piece into a bagel shape:


Then place on the lined baking sheets. Cover with saran wrap, and let rise again for about 30-40 minutes.


When the second rise is almost complete, preheat the oven to 500, and put a large, deep skillet or a pot on the stove with about 4 inches of water added. Add the remaining 2 Tb sugar, and bring to a boil. Once the water is boiling rapidly, you're going to add the bagels, 2 or 3 at a time (Don't crowd them- bagels like their space!) (One time I went to this marathon expo, and it was SO crowded and everyone was shoving- it was terrible!! Don't do that to the poor bagels!)


Boil the bagels for one minute, then flip (I used the handle of a wooden spoon) then boil another minute. Then remove with the handle of the spoon and place back on the lined pan.


See?? No crowding.


As you can see, I did NOT make perfect bagels. In my defense, I was also cooking dinner, and fielding questions from my son about how gas masks are made. (Who knows how they're made??! I mean, honestly!) I can't do everything all at once....... So the bagel shaping suffered. But it was fine, they still tasted delish!!


Bake at 500 for about 15 minutes, or until golden brown. Your house will smell so wonderful. 

A word about topping these bagels- they aren't overly sweet bagels. So when I used plain cream cheese, I thought they needed a touch more sweetness. So I mixed a few tablespoons of maple syrup with a package of cream cheese. Perfect. Alternately, butter and a light sprinkle of brown sugar was also quite delightful. 


After cooling on a wire rack, store in a Ziploc bag. 

Enjoy!!