"But one thing I do: forgetting what lies behind and straining forward to what lies ahead, I press on toward the goal for the prize of the upward call of God in Christ Jesus." Philipians 3:13b,14
Showing posts with label lunch. Show all posts

Thursday, May 5, 2011

Make Ahead Lunch or Dinner- Healthy (but yummy) Turkey Chili

This chili is one of my favorite for lunches, snacks (I'll put a small amount on a sweet potato), and it has also become a camping staple. It freezes really well, I will often make a few batches at home and freeze them, then take the frozen containers in the ice chest and heat them in camp! Such an easy way to have a healthy meal on hand!


Really good in the afternoon instead of my usual Red Vines......


Here's what you need!
  • 1 Tb olive oil
  • 1 onion, chopped
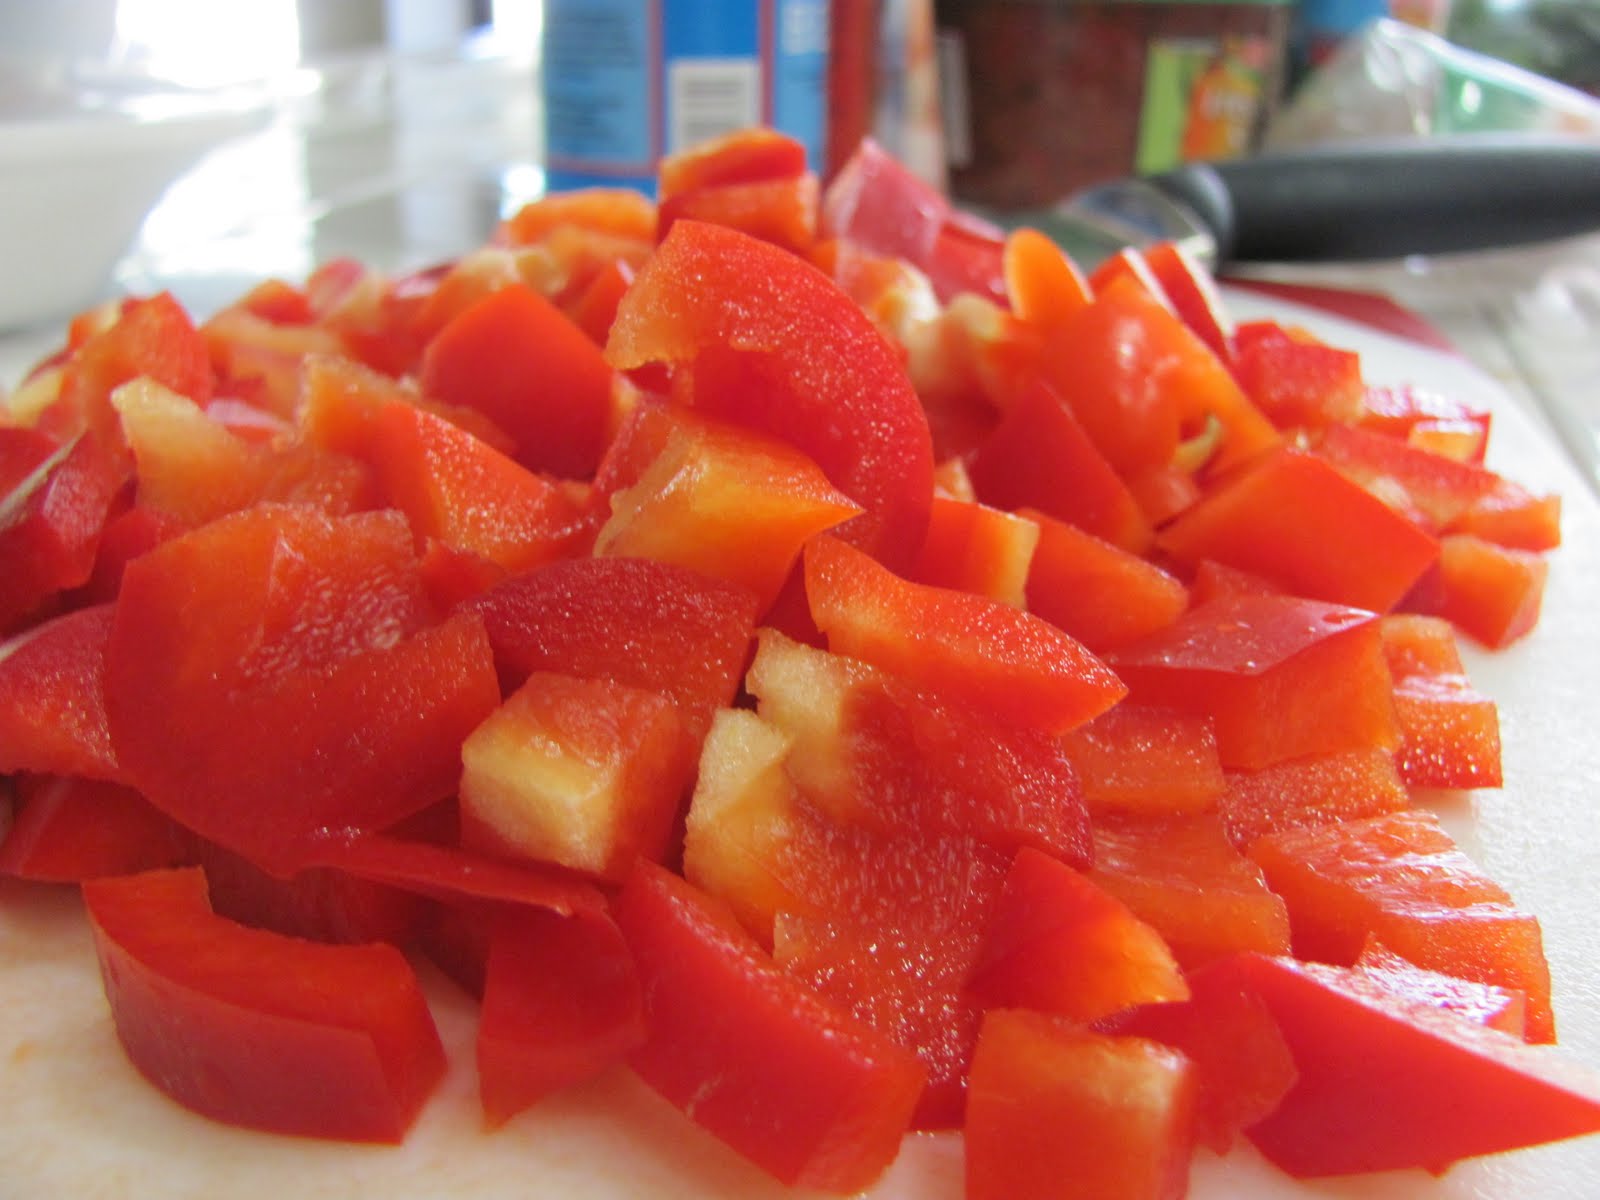
  • 2 bell peppers, any color, chopped (I used red)
  • 3 carrots, diced
  • 2 cloves of garlic, minced
  • 2 tsp chili powder
  • 2 tsp cumin
  • 1 pound lean ground turkey
  • 1 16-ounce container fresh cut salsa (usually in the refrigerated section by the pickles)
  • 3 cups chicken broth
  • 2 cans black beans
  • 1 Tb tomato paste


Chop up all the veggies, heat the olive oil in a soup pan and add the onions, pepers, carrots, and garlic and cook until soft, then add the cumin and chili powder and cook for another minute or so


Then add the turkey and cook until browned.

Rinse and drain the black beans:


Then add the black beans, salsa, chicken broth, and the tomato paste and bring to a simmer:


I like to simmer mine for about a half hour or so. Then I turn off the pot and let it cool down a bit, then ladle the chili into containers and let it cool down before putting it in the fridge or freezer. Or just eat it for dinner NOW!


I got this recipe from Oxygen Fitness Magazine, the October 2002 issue

Have a great Thursday!!

DINNER TONIGHT:
We are having what I listed for last night!(we had something different last night)
Chinese Chicken Salad
Yeast Rolls
Watermelon

Wednesday, April 6, 2011

Make Ahead Lunch (or dinner) Black Bean Southwest Salad + Speedwork

Oh. My. Gosh.

This salad is GOOD!!

I made it to take to a meeting, but I had to try some before I served it. I was sorry I didn't make the entire thing for my lunches this week!! AND it's really good for you!!!!!!!


Here's what you're going to need:
  • 2- 15oz cans black beans, drained and rinsed (nasty bean juice=bad)
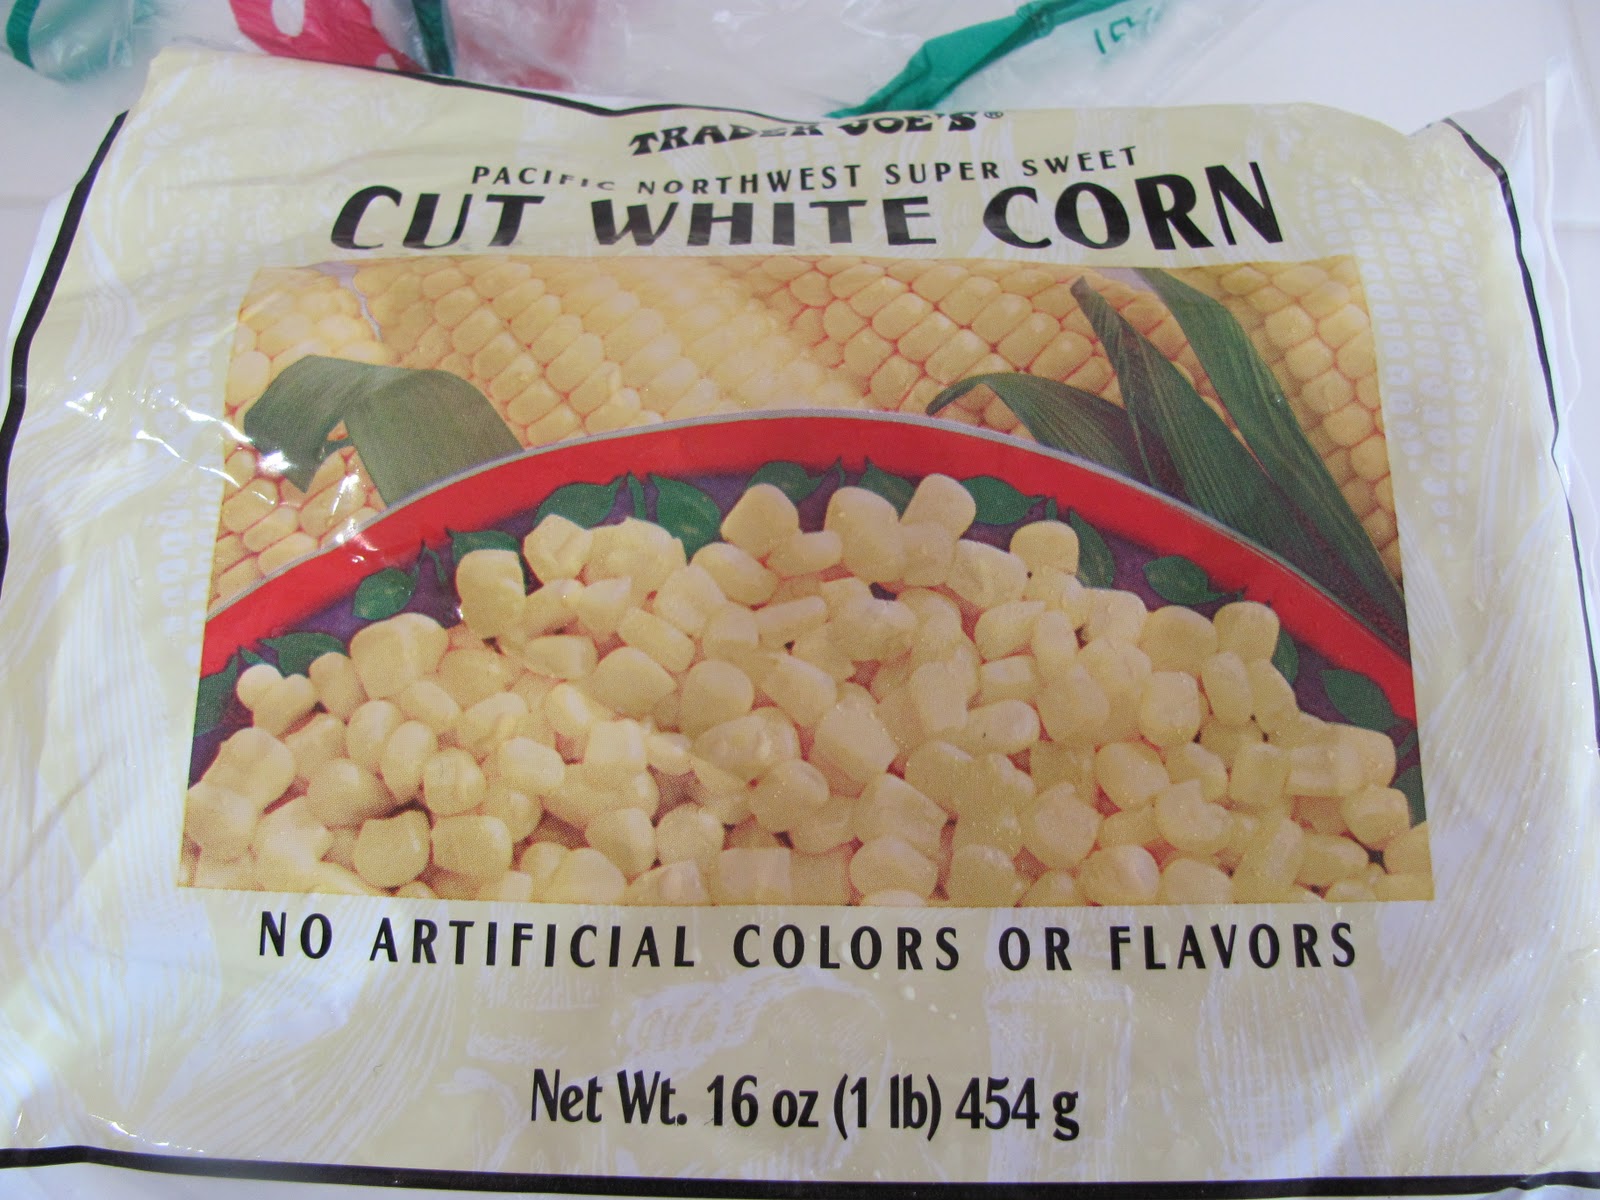
  • 1 1/2 cups frozen corn (it called for freshly shucked corn, but seriously?!)
  • 1/3 cup pine nuts, toasted (you could totally omit these if they're too expensive. I just happened to have some on hand, so I used them)
  • 1 tomato, diced
  • 1/4 cup chopped cilantro
  • 1/2 cup chopped red onion
  • 2 cups diced or shredded red cabbage
  • 1/4 cup fresh lime juice
  • 2 Tb olive oil
  • 1 tsp sea salt
  • freshly ground pepper, to taste


This is the corn I used, the kind from Trader Joe's. I heart Trader Joe's. If there were an ACTUAL dude named Joe who could get all the food for free, Wade may have some serious competition.

....not really. I heart Wade even more than I heart food.


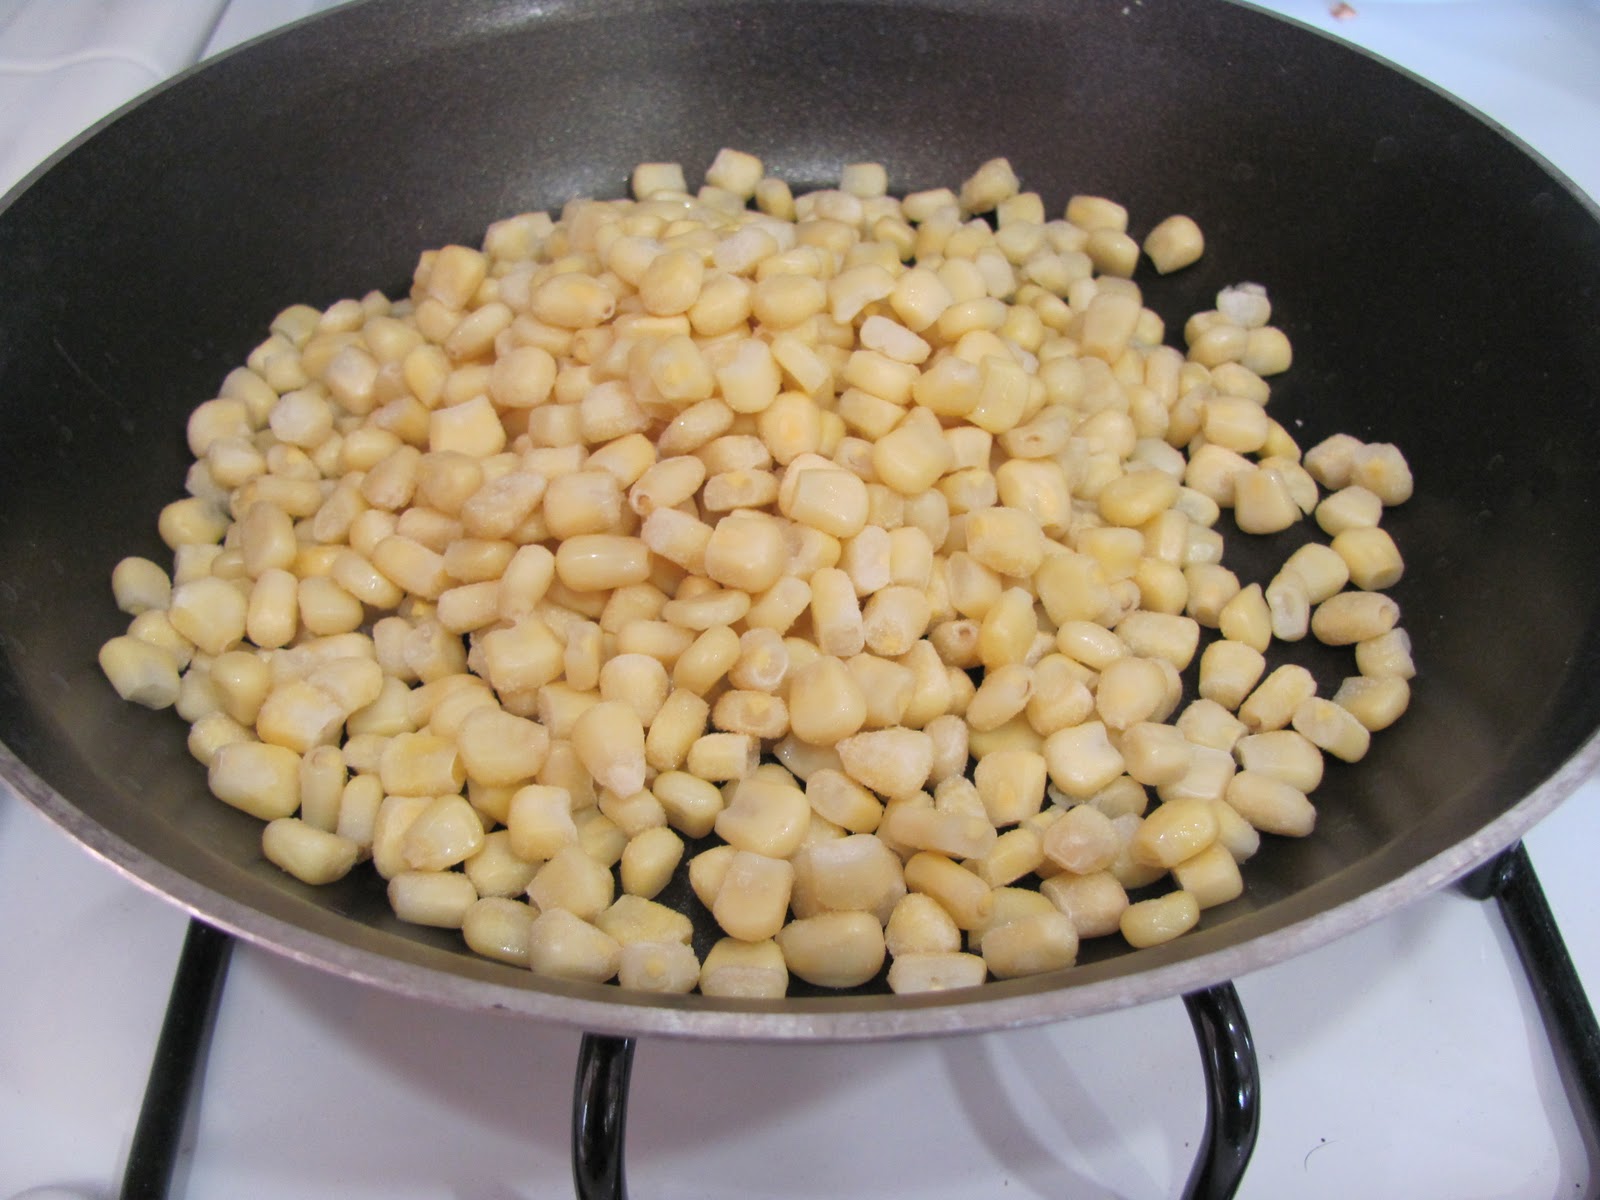
So the way I cooked the corn is to put it in a skillet and lightly toast it. (I learned this from my friend Kim. She rocks.) So it just took a few minutes, and it was lightly cooked, and a tiny bit browned on some pieces.


Then I used my chop chop to dice the onion. Please refer to the Public Service Announcement in this post for proper and safe use of the chop chop. Thank you.


So put all the "stuff" into a large bowl. (black beans through the cabbage) Mix it up a little.


Doesn't that already look AWESOME??! So at this point, I just stuck it in the fridge and mixed up the dressing in a different container, so I could toss them together right before serving. I really think it would be ok for several days though, after mixing.


So mix up the rest of the ingredients to make the dressing. Try not to squirt yourself in the eye with lime juice. I have heard, from other people, that this may occur. I just stuck mine in a little container in the fridge. Now you're all set!! You could even package the "stuff" in small bowls for lunches and add the dressing throughout the week as you eat the bowls.


It was really good with homemade whole wheat tortillas, I think it would be good too with tortilla chips, or you could add chicken. I got this recipe from Eating Well.


So, speedwork. I didn't have a whole lot of hope for my pace yesterday afternoon, as I had been battling some lame stomach bug for about a week, and really felt awful Sunday night. But what the heck, right?

The Workout:
  • warm up
  • 3 minutes at 5k pace
  • 2 minutes at long run pace
  • repeat this 6x
  • cool down
What I did:
  • warm up- .69 miles @9:08 (all paces are in minutes per mile)
  • #1 3:00- @7:02
  • #1 2:00- @9:27
  • #2 3:00- @7:26
  • #2 2:00- @9:38
  • #3 3:00- @7:23
  • #3 2:00- @9:23
  • #4 3:00- @7:19
  • #4 2:00- @9:57
  • #5 3:00- @7:17
  • #5 2:00- @10:15
  • #6 3:00- @7:14
  • #6 2:00- @10:14
  • cool down- walked home from the track
What I Learned:
  •  I decided to focus on really making sure the "rest" interval, or the 2:00 @ long run pace, felt like a recovery. I worked on getting my breathing under control quickly, and tried to feel "rested" by the time I needed to start the next interval. This was helpful.
  • One main thing I continue to notice is how different mentally speed training is from endurance training. I really tried to use the same mental tactics I would use in a long race, but I have to focus so much more on my form, my leg turnover, my breathing, that I can't just think about other things like I normally would. 
  • It's been warm, and I was surprised at how much fluid I needed to replace to feel hydrated again. Drink a lot.

So that's yesterday's workout in a nutshell!! While I wouldn't say I am looking forward more to speed training, I think I'm dreading it less. Especially after the first interval is in the bag. The first one always hurts. But in a good way. ;)

DINNER TONIGHT:
Brown Rice
Oranges Slices 

Monday, March 7, 2011

Make Ahead Lunch- Quinoa Greek Salad (what the heck is QUINOA?!)

Ok, I don't like to go overboard, but this salad ROCKS! It really is DELICIOUS! And it's full of healthy, good-for-you ingredients!


I love to have stuff in the fridge for lunch. Especially lately. I have had a little problem called "I keep gaining a pound here and there", and I have had to watch my calorie intake more strictly. When I get hungry, I can easily plow through 800-900 calories before I even come up for air if I don't have a healthy choice ready to consume. I like to have something that is packaged in individual servings, and can be ready to eat in a few minutes.

So, for this week, I made a batch of Quinoa Greek Salad. Have you heard of quinoa? Here's some information from Livestrong.com:

1. The Gold of the Incas

Over 5,000 years ago, high in the Andes mountains, the Incas began to cultivate quinoa (pronounced keen-wah) as one of their staple crops, believing that it gave power and stamina to their warriors. Quinoa was also used in their ceremonial rituals. When Spanish conquistadors arrived in South America in the sixteenth century, they burned and destroyed the quinoa fields as part of the effort to annihilate Inca culture. But quinoa survived by growing wild in the mountains or by being cultivated in secret in small quantities. In the 1980s, two North Americans stumbled upon this ancient, super-nutritious food and began cultivating it near Boulder, Colorado. Since then, quinoa's popularity has exploded worldwide.

2. Getting to Know Quinoa

Although it is cooked and eaten like a grain, quinoa is technically a seed, and is related to spinach, chard and beets. It grows best in mountainous regions, 10 thousand feet or more above sea level, and thrives in poor soil, thin air and extreme weather. Quinoa stalks are 3 to 6 feet tall, and each plant can produce up to a cup of seeds! The seeds are round, about the same size of millet or sesame seeds, and come in a rainbow of colors, from red to purple to green to yellow, but the quinoa that is most commonly found in stores is an off-white color. Look for quinoa in the bulk section of natural food stores, or in the organic section of conventional supermarkets.

3. A Complete Protein and so Much More

Quinoa is a complete protein, which means that it contains all the amino acids necessary for our nutritional needs. Complete proteins are rare in the plant world, making quinoa an excellent food for vegetarians and vegans, or for anyone looking for healthy protein source. It's also high in iron and calcium, and is a good source of manganese, magnesium and copper, as well as fiber.

4. Cooking With Quinoa

Most commercially available quinoa has already been cleaned, but you should still give it a thorough rinsing before cooking to be sure to remove any remaining saponins, a soapy resin that protects the seeds while they are growing, but can impart a bitter taste if not removed. Combine one cup rinsed quinoa to two cups water or broth, bring to a boil, then simmer for 10 to 15 minutes, until the seeds become translucent and the germ of the seed uncoils to form a little "tail." Quinoa has a light, slightly nutty taste and a fluffy texture. It makes a tasty porridge or casserole and can be added to soups and stews.

5. The Gluten-free Grain of Choice

Quinoa is naturally gluten-free, making it an excellent food for celiac patients or other people following a gluten-free diet. Quinoa flour is great for baking cookies, breads and muffins, and quinoa flakes are a perfect substitute for oatmeal.

Wow!! So, obviously, it's a great choice for a salad, filling, and full of great health benefits!

So here's what you need:

  • 1 cup Quinoa (I got mine at Trader Joe's, it it usually sold in markets by the rice/grains)
  • Feta cheese
  • cherry or grape tomatoes
  • kalamata olives
  • lemons (Meyer lemons are AMAZING.... I am obsessed with them. My friend Ron usually keeps me stocked up- thanks Ron!) 
  • a can of water-packed artichoke hearts (I think it was 14oz, Wade took the trash out before I took a second look at the can!)
  • olive oil
  • salt, pepper, and dried oregano.

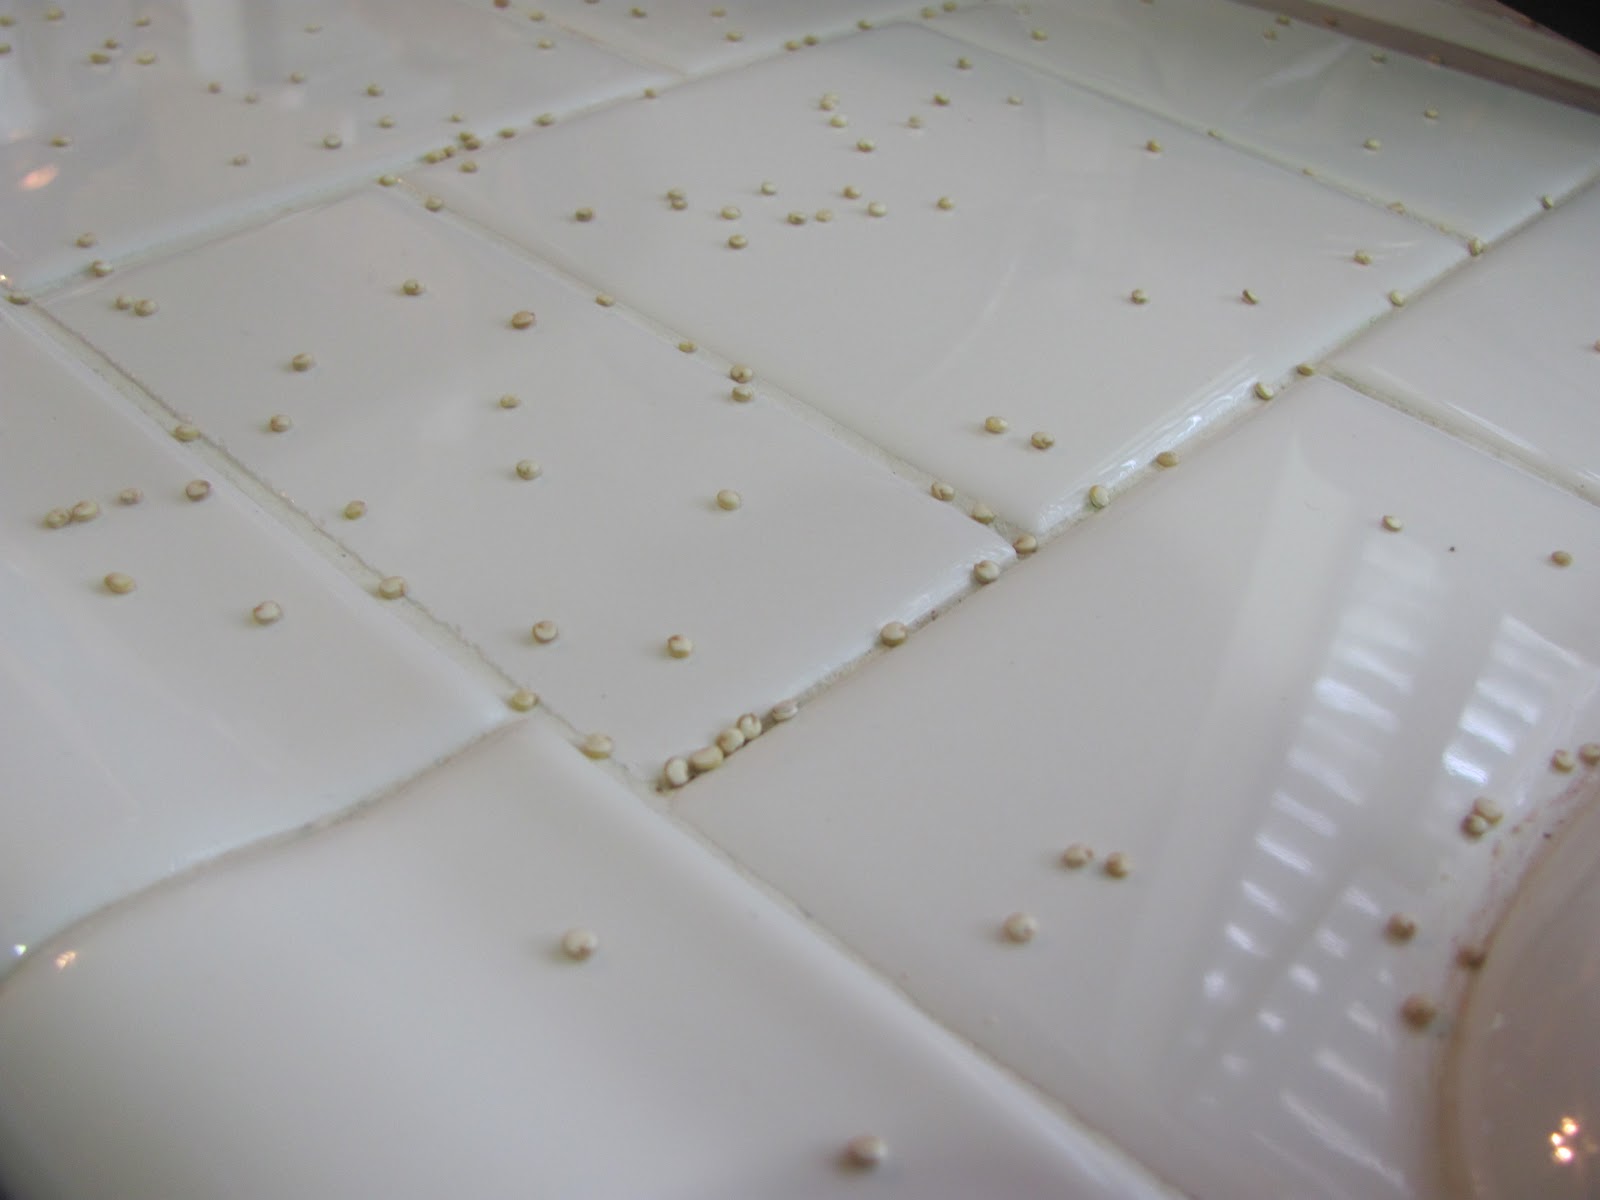
So, first measure out a cup of quinoa (and please don't spill it all over the counter like I did- it gets into the grout lines and then you have to get it all out.....) Then you want to put it in a sieve and rinse it really well. I rinsed mine for 2 or 3 minutes (or, however long it took Nicholas to tell me about the trick he was about to show me on the trampoline, then show me the trick)


Then put the quinoa into a medium saucepan, add 2 cups of water, and bring to a boil. Then reduce the heat so that it's simmering, and simmer for about 13 or 14 minutes.

While it's cooking, you can make the dressing and chop the other ingredients. To make the dressing, first juice lemons to get 1/2 cup of fresh lemon juice. As I said before, I used Meyer lemons, and it took 3 smallish lemons to get the juice.


 Do you have a reamer? It's one of my favorite handy kitchen thingies. You can easily juice citrus without having to drag out the juicer. You are supposed to hand wash it, but I always throw it in the dishwasher, and 5 years later, it's still fine.

Then you want to pour in 1/2 cup olive oil:

Then add 3/4 tsp salt (sea salt is good), a few spins of freshly ground black pepper, and a few shakes of oregano (I would say if you want to measure because you get all freaked out about guessing, I used about 1/4 tsp each of the oregano and pepper) then give it all a quick whisk with a fork:

Now, get the other stuff ready. Now, I just made up this salad, so the other stuff isn't set in stone! Use what you have, what you like, what will make the salad yummy to you!! I used the can of artichoke hearts, drained and quartered, a cup of grape tomatoes that I cut in half, and about 1/4 cup of sliced kalamata olives. Oh, and a cup of feta cheese. If I didn't have breath-conscious people here, I would have added some red onion .

Ok, so now your quinoa should be done cooking, dump it in a big bowl to cool a bit (just enough so it doesn't melt the feta cheese. Then put all your other ingredients in the bowl, and pour the dressing over it all.


Doesn't that look YUMMY????? And now I have it all ready to go in the fridge, so if you make some, you can just throw it in a lunch pail if you take packed lunch, or just grab it when you get hungry so that you don't eat half of the kids' lunch while they're not looking! I will probably eat  mine over a bed of spinach, so that I can get even more iron into my diet. Stupid anemia....... :)

So, I am starting week #2 of weight lifting today!! Last week I lifted weights 2 times, this week I am shooting for 3 times! I was SO SORE last week (mostly my legs) that I could hardly walk for a day or so. I was thinking, "what the HECK??!! I am IN SHAPE!! Why am I so stinking sore??" I was really excited that the second time I did the workout, I was less sore afterward. Hopefully this week will be even better. I was really excited because yesterday, after my long run, my hamstring and IT band were pain-free for the first time in a loooooooong time. The only thing I did differently was the weights, so I'm hoping that's what helped! I told Wade so many times that he was like, "ok, ok Shari, I get it. You're happy!!"  Ha ha.

Have a great Monday!!

DINNER TONIGHT:
Grilled Chicken
Brown Rice
Salad
Watermelon


Friday, March 4, 2011

Homemade Smuckers Uncrustables (because buying them is a rip-off!)

Now, I don't mind buying some things for convenience.

But Smuckers Uncrustables are such a huge rip-off!!

So you should make your own! Because they're super easy, and then you can have flavors other than grape and strawberry (but you should still use creamy peanut butter, because crunchy is gross).


Ok, so here are the things you need: some bread (I just buy the cheapy sandwich loaf, but you can use whatever you want. You are going to waste a small part of the outside of the bread, and the crust, so I say cheap=good), peanut butter (we've covered the crunchy vs creamy debate), and jelly (I LOVE the ones from Trader Joes, so yummy!)

If you wanted to make this really healthy- Orowheat makes a 100% whole wheat "soft family" sandwich loaf bread that you can use, with natural PB from Trader Joe's and the 100% fruit spread, and you have yourself a nice, easy, healthy Uncrustable!! :)

So first lay out some bread slices, then your going to put a somewhat thick layer of pb on one side, then a very thin layer on the other side (so the jelly doesn't soggify the bread) (yes, soggify is a word). Then, put a small blob of jelly over the thin layer of pb, and spread it. (I know, I know, this is rocket science here.....) You don't want to go all the way to the edge because some of that will be cut off and you don't want to waste your stuff.


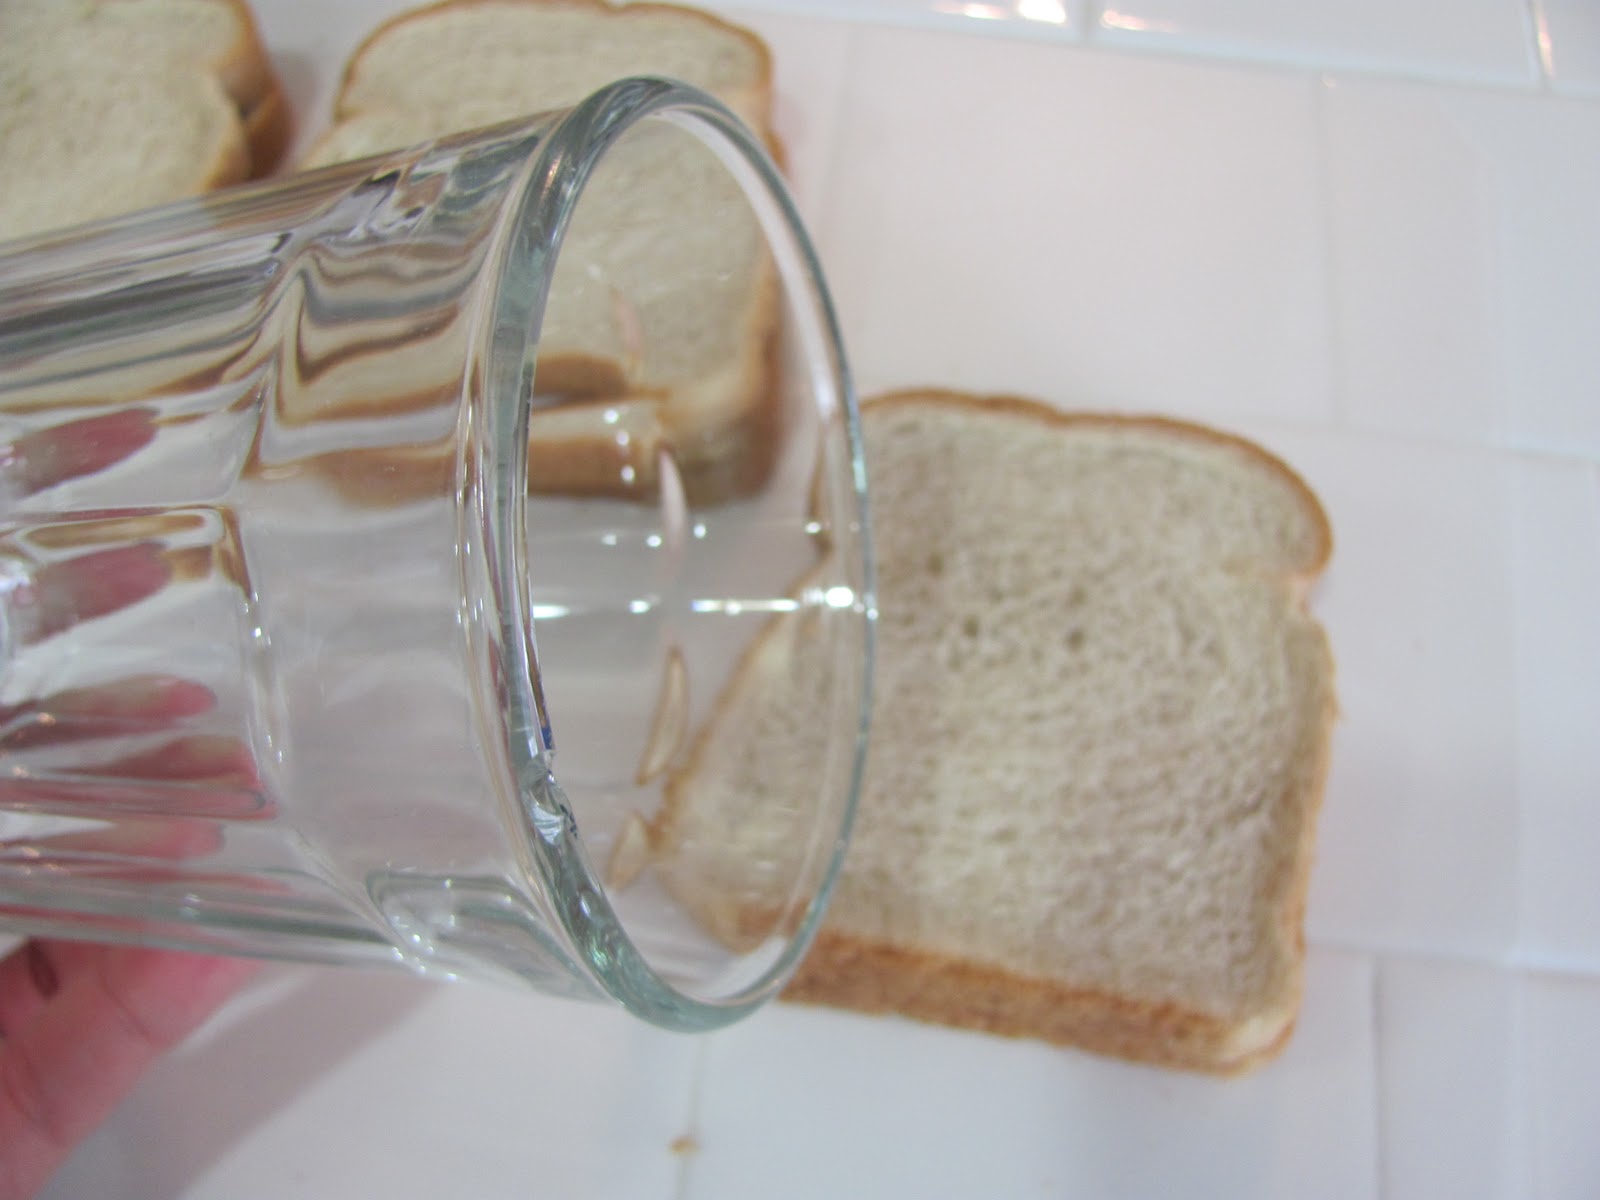
So then, find a drinking glass, or a small bowl, or a circle cookie cutter that's about the same size as your bread. Push it down to cut the bread, then leave it on while you pull the crusts off so you don't rip the Uncrustable. (so since they're generic uncrustables, we should think of a funny name for them......)


Then, kind of pinch the edges to seal them. (my thumbs look like toes. I have no idea why they do, but they always have)

So then you'll want to put each one in a ziploc bag and take all the air out of the bag.


Now just stick them in the freezer! That's it! Now you have them ready to go for luches, or snacks, or whenever! (They also work great for long bike rides, you can stick them in your jersey still frozen and your body heat will thaw them by the time you need to eat one!)

Now you can take all the money you've saved from making your own Uncrustables, and buy a yacht, or a diamond necklace........or, more realistically, a lunch out with a friend. :)

Speaking of friends, my sweet sister-in-law, Suzie, took pity on me after seeing my sad, broken cheese grater in the BBQ Chicken Pizza post, and bought me a new one!!

Thanks Suzie!!

Happy Uncrustable-ing!!

DINNER TONIGHT:
Grilled Cheese Sandwiches
Tomato Soup
Watermelon